Wednesday, November 09, 2005

Final Installment


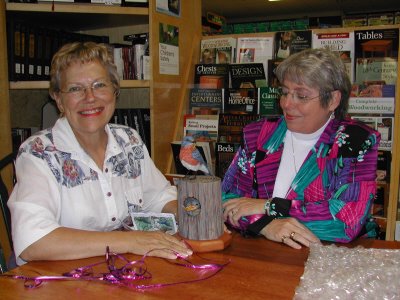
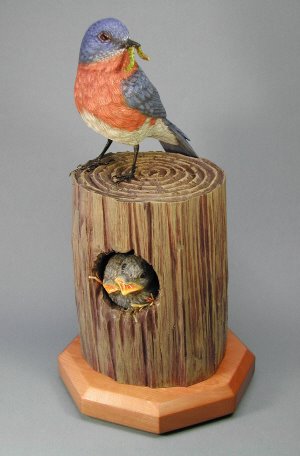
Here it is, the final entry for this blog. Last night I met with the women involved and delivered the sculpture into their hands. I think they liked it- they seemed really excited about it
We met at the Austin, Texas Woodcraft store where I used to work.

Coincidentally, the Central Texas Woodcarvers' Association was meeting there at the same time. Really. . . I didn't plan it that way, but it was great to be able to 'show and tell' my latest work with lots of carving buddies.
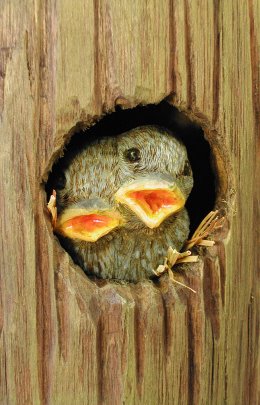
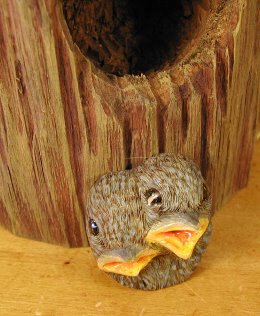
Its funny how just a little bit of hay seems to finish off this piece. Until the hay was attached there was 'something missing'- something that was just not quite right. Voila! A couple of pieces of hay and all is well.


Thanks to everyone for their interest in my project. Here is a link to my web site where you can see many more carvings and other woodworking projects:
http://www.geocities.com/donpbk/woodworks-by-donna.html
See you there!

Saturday, November 05, 2005

It is all over but the shouting


Haven't posted for a while because I couldn't get here with Internet Explorer- although I had done so many times before. So I just switched to Firefox and I'm back in business.
No, I'm not fossing the bluebird's teeth- lol! Actually I'm hand drilling a tiny hole through the bird's beak. Through this hole I'll thread a fine brass wire and then attach the ends of the wire to the two ends of the worm I've carved and painted.
Talk about fussy work- try carving a worm 1" long and 1/8" in diameter, out of figured maple wood. Then I cut it in half, drilled a couple more holes with the #55 drill, painted it kind of a camouflage green/brown, and then attached it to the ends of the wire coming out of the beak. Looks good.


The babies are done now, with shiny, hungry mouths and eyes. The post has been antiqued with muted shades of violet and yellow. Since they are complementary colors they cancel each other out (in our eyes/brains) and the result is a gray looking old post. To keep the birdies in place inside I used two supporting rods attached to the birds and the inside of the post hole. One goes from the back of the birds to the back of the cavity, and the other goes from the bottom of the birds into the bottom of the hole. They are attached with epoxy now and should be quite secure.


Here is the top of the base. Notice how oiling brings out the depth in the wood. This is a very special piece of mesquite wood that a friend gave to me years ago. I wanted a refined look to the base to work as a contrast to the rough-looking post.
I won't be showing a photo of the completed project until Wednesday, the 9th, after I deliver it on the 8th. I figure the purchaser and the new owner ought to be the first to see it. I will post photos then, as well as their reaction to getting the piece. I'm sooooo excited! Hope they like it.